How to Remove Soap Scum From Glass Shower Doors Without Scratching
Cloudy shower doors don't always need aggressive scrubbing. Learn how to identify soap scum, loosen stubborn buildup, clean glass safely, and prevent the film from returning.

What you’ll need
Tap to tick things off before you start.
Check Why Your Shower Glass Still Looks Cloudy
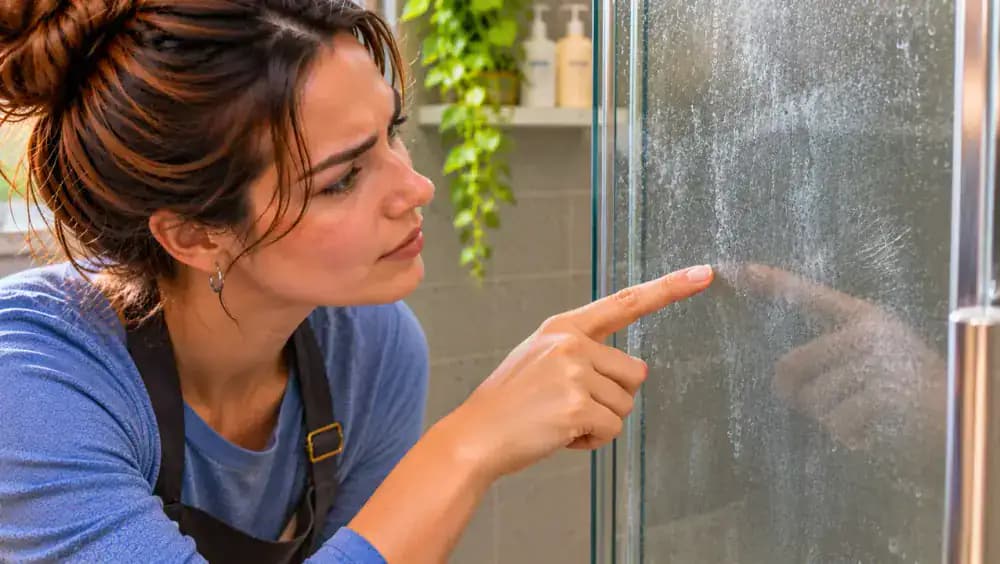
Look closely at the cloudy white film and greasy streaks covering your shower door. Gently wipe a small section with a clean, dry microfiber cloth, as shown, and check whether the haze remains. If repeated wiping makes little difference, soap scum may be clinging to the surface rather than ordinary dirt. Pay attention to whether the residue looks greasy or chalky, since hard-water deposits may require a different cleaning approach.

Understand Why Regular Glass Spray Leaves Residue
Spray a small section of cloudy shower glass with ordinary glass cleaner, following the product label and avoiding nearby hardware. Gently wipe it with a clean microfiber cloth and inspect the surface under angled light. Some haze may remain because soap scum contains greasy residue mixed with minerals that ordinary glass spray may not dissolve effectively. If the film persists, choose a compatible soap-scum remover rather than scrubbing harder.
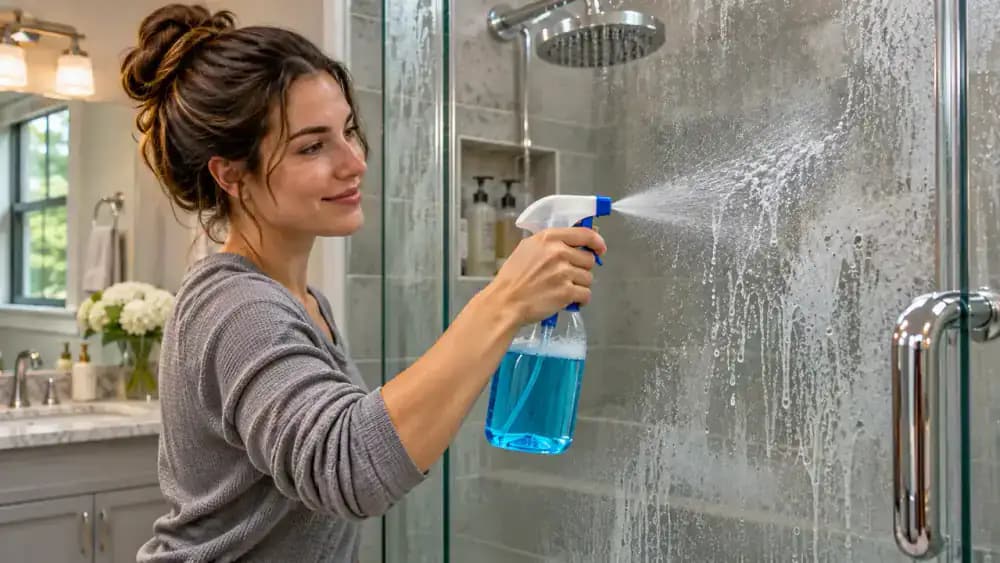
Identify Soap Scum in the Shower Door's Splash Zones
Examine the lower half of your glass shower door, starting near the threshold and moving upward through areas frequently exposed to shower water. Look for irregular cloudy patches, dull white film, and faint greasy streaks like those highlighted in the image. Soap scum often accumulates around splash zones where residue repeatedly settles. Use angled lighting to reveal subtle buildup, and note whether the deposits appear greasy rather than chalky.
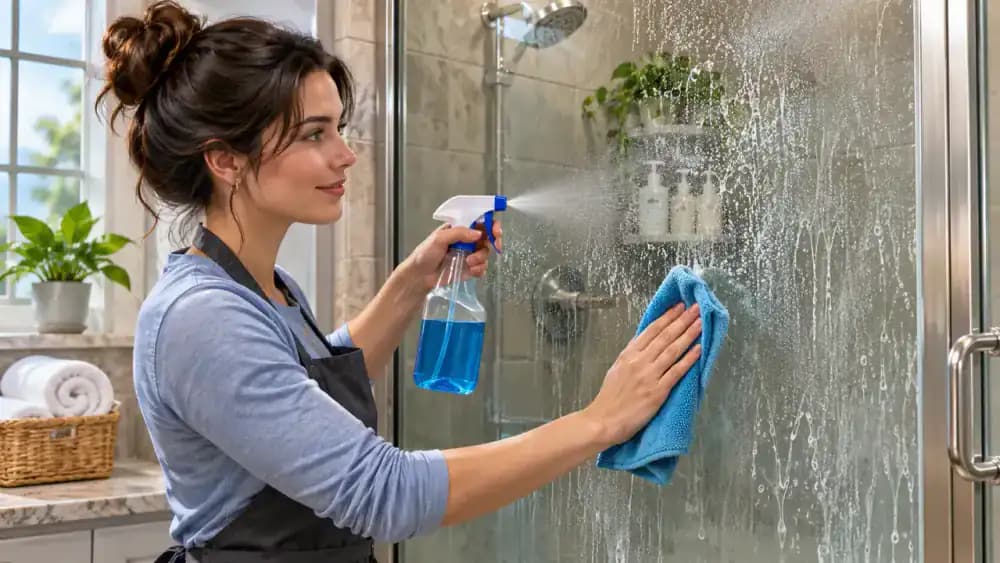
Check for Hard-Water Spots and Mineral Deposits
Hold a small LED flashlight several inches from the upper shower glass and shine its beam across the surface at a shallow angle. Look for chalky white spots, circular rings, or crusty patches near the frame where water droplets have dried. Unlike greasy soap scum, mineral deposits often form distinct patterns. Compare these marks with nearby cloudy areas, since both types of buildup can occur together and require different cleaning approaches.
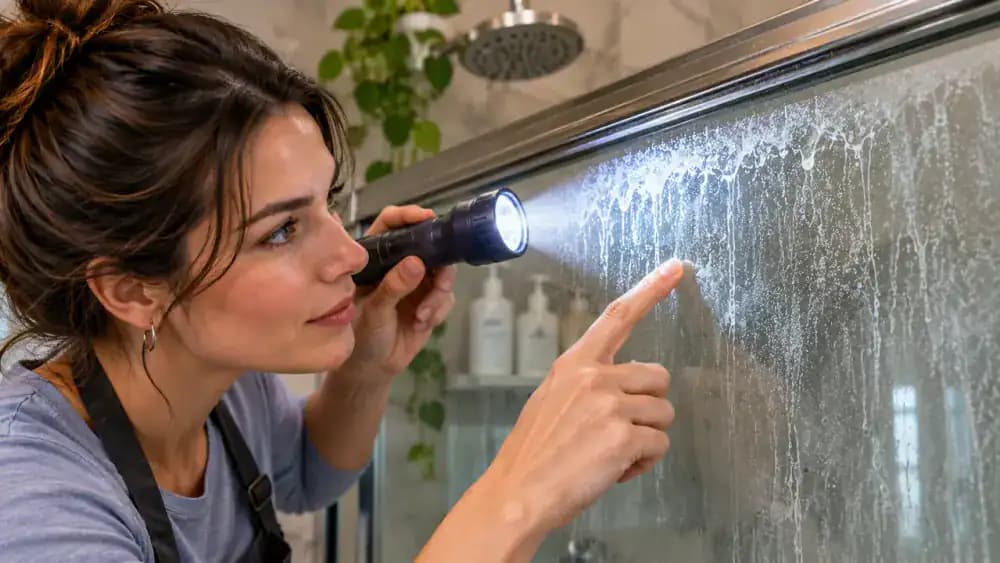
Use a Few Drops of Water to Examine the Residue
Place three drops of clean water onto a small, inconspicuous section of shower glass that is compatible with water. Using a folded microfiber cloth, gently move the droplets across the cloudy surface without applying pressure. Watch whether the residue smears into a greasy film or remains visible as sharply defined spots. This simple check provides clues about the buildup, but cannot reliably identify every deposit or rule out surface damage.
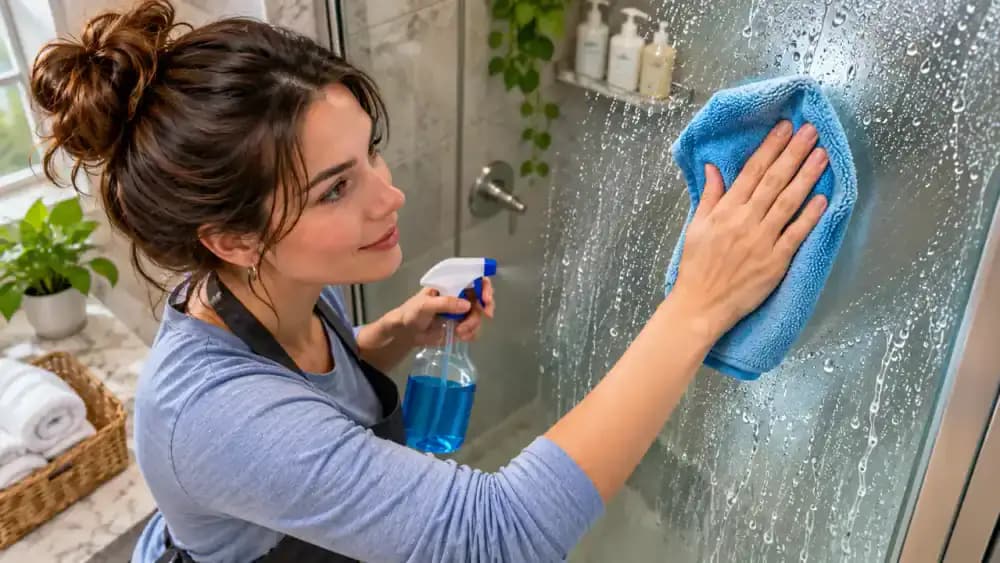
Check Manufacturer Instructions and Glass Coatings
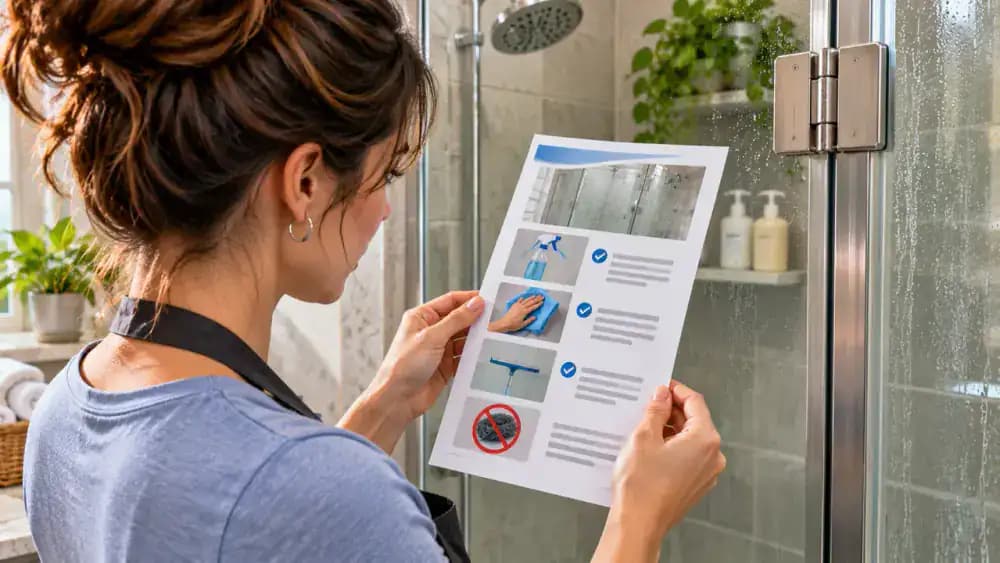
Find your shower door's manufacturer care manual and look for instructions about protective coatings, approved cleaning products, and suitable tools. Check the identification label near the upper hinge if you need to confirm the model. As shown, inspect the glass panel, metal hardware, and rubber seals before selecting a cleaner. Products suitable for uncoated glass may damage certain finishes or coatings, so verify compatibility with every exposed component.
Gather Glass-Safe Supplies and Inspect Your Cleaning Cloths
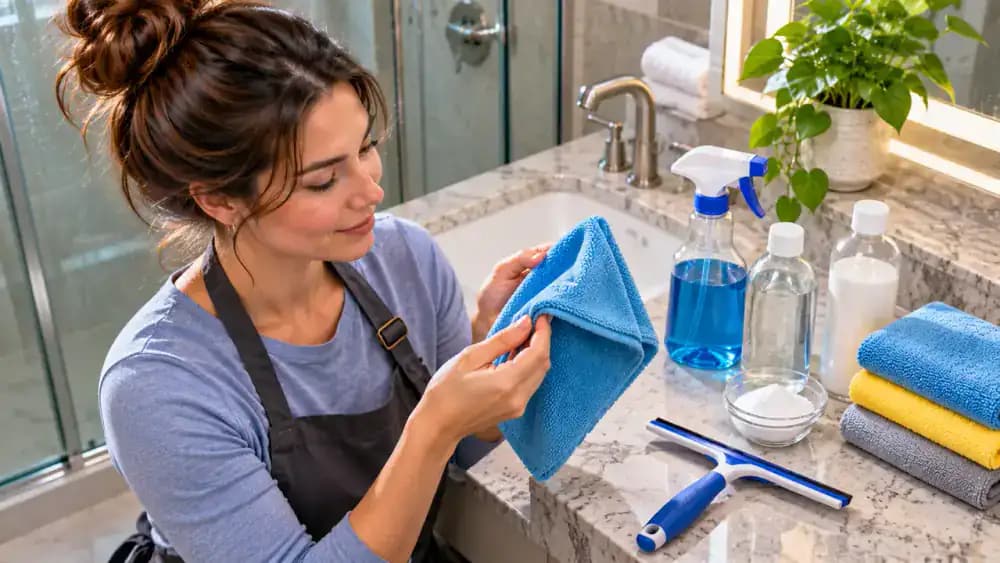
Arrange two clean microfiber cloths, an approved non-scratch sponge, warm water, and a compatible soap-scum remover on a nearby countertop. Unfold one cloth and check carefully for trapped dirt or grit that could scratch the glass. Set it aside for cleaning, keeping the second cloth clean and dry for finishing. Confirm that the sponge and cleaner are approved for your shower glass and any protective coating before starting.
Ventilate the Bathroom and Follow Cleaner Safety Instructions
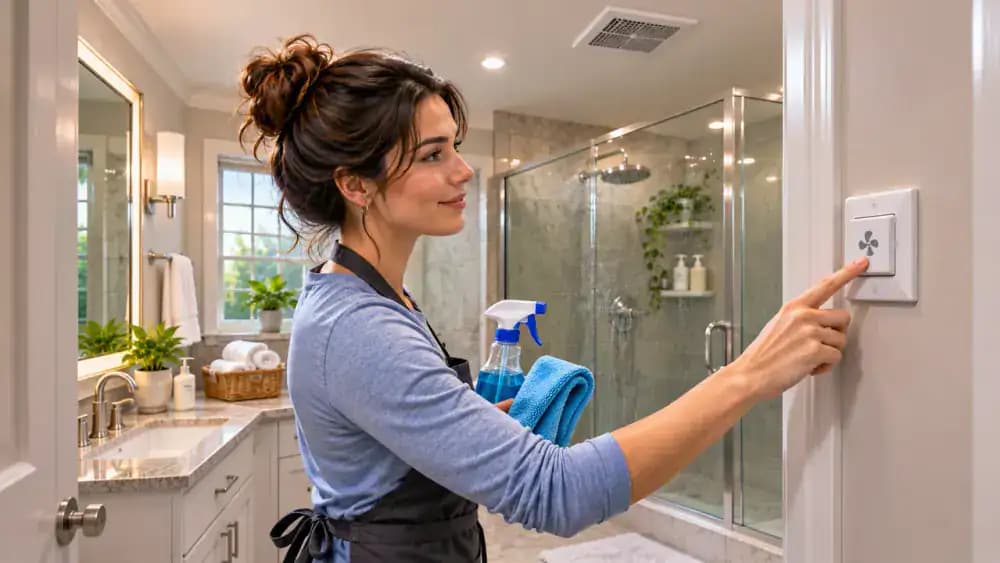
Turn on the bathroom exhaust fan and open a nearby window if the cleaning product's label calls for additional ventilation. Before handling the soap-scum remover, read its safety instructions and put on protective gloves if required. Keep the bottle closed until you're ready to use it, and identify nearby metal finishes and rubber seals that need protection. Never mix cleaning products, even if both are labeled safe for bathrooms.
Soften Dried Soap Residue With Warm Water
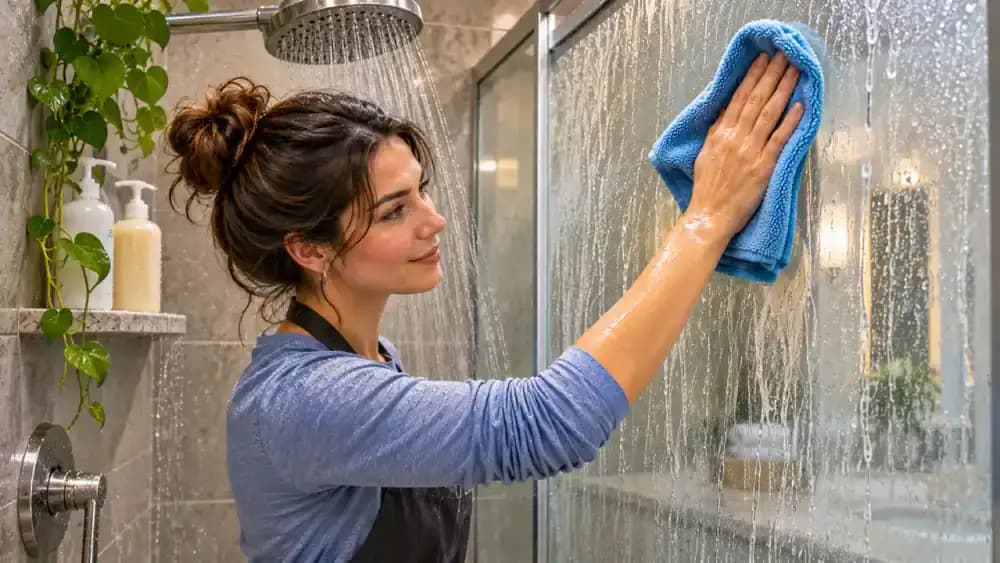
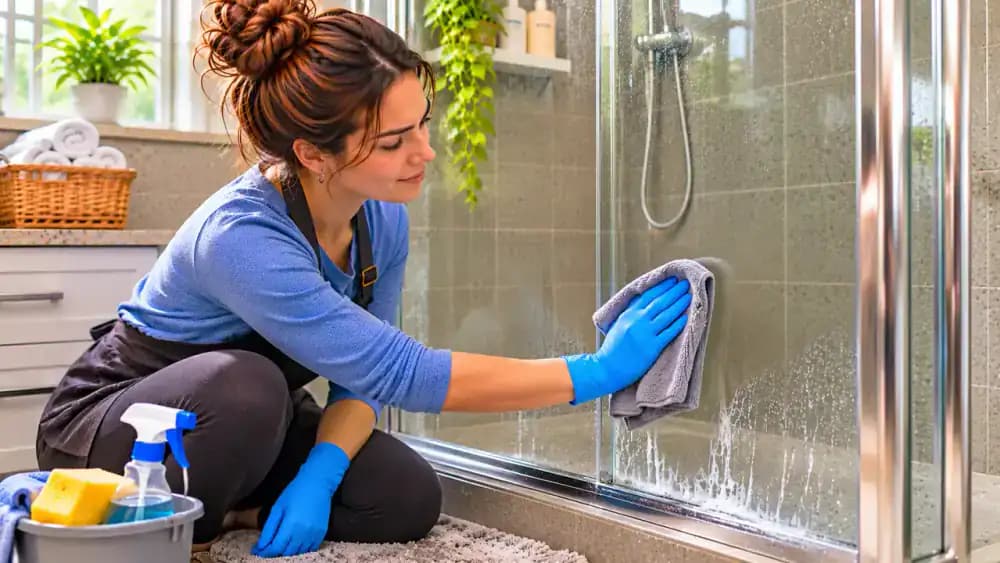
Dampen a clean microfiber cloth with warm water and gently wipe a manageable section of shower glass using broad, vertical strokes. Spread a thin, even layer of moisture across the cloudy residue without pressing hard or soaking nearby hinges and seals. As shown, small water droplets may form while the soap film remains visible underneath. Confirm that the manufacturer permits water contact, and avoid using excessively hot water on the glass.
Keep the Glass Damp and Gently Loosen the Film
Allow the warm water to sit briefly on the cloudy glass, keeping the area lightly moist with a clean, damp microfiber cloth. As shown, make one slow horizontal wiping motion using minimal pressure. Watch whether the softened residue shifts more easily while some cloudiness remains. If the surface begins drying, lightly dampen it again. Avoid forceful scrubbing, since the goal is to gradually loosen buildup without scratching the glass.
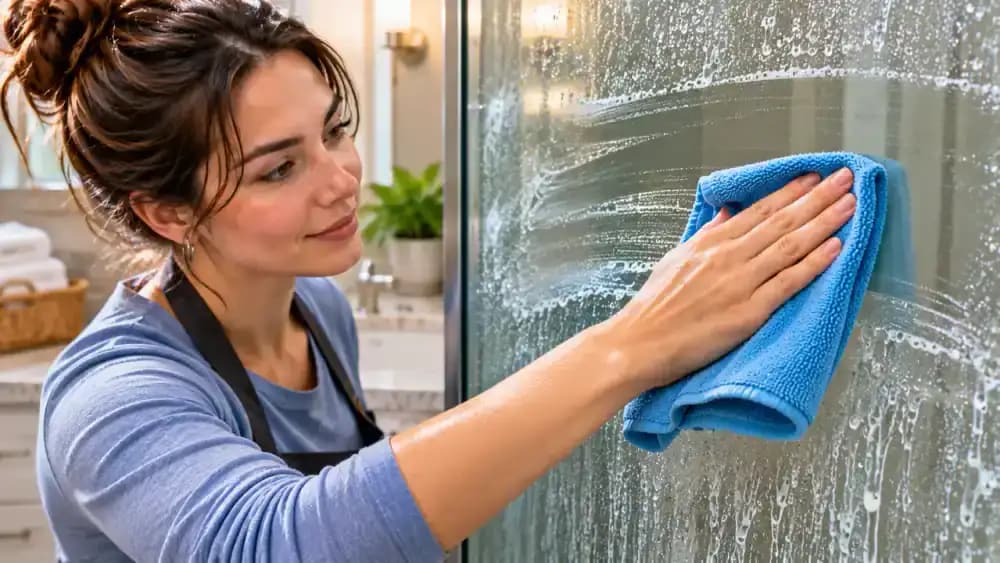
Compare Gentle Wiping on Dry and Damp Shower Glass
Gently wipe a small dry section of cloudy glass with a clean microfiber cloth, then use a separate cloth to wipe an adjacent section dampened with warm water. Apply equally light pressure to both areas, as shown. Notice how the cloth moves and whether the residue shifts. Moisture may soften dried soap film and reduce friction, but this comparison is not a definitive test. If haze remains, avoid scrubbing harder.

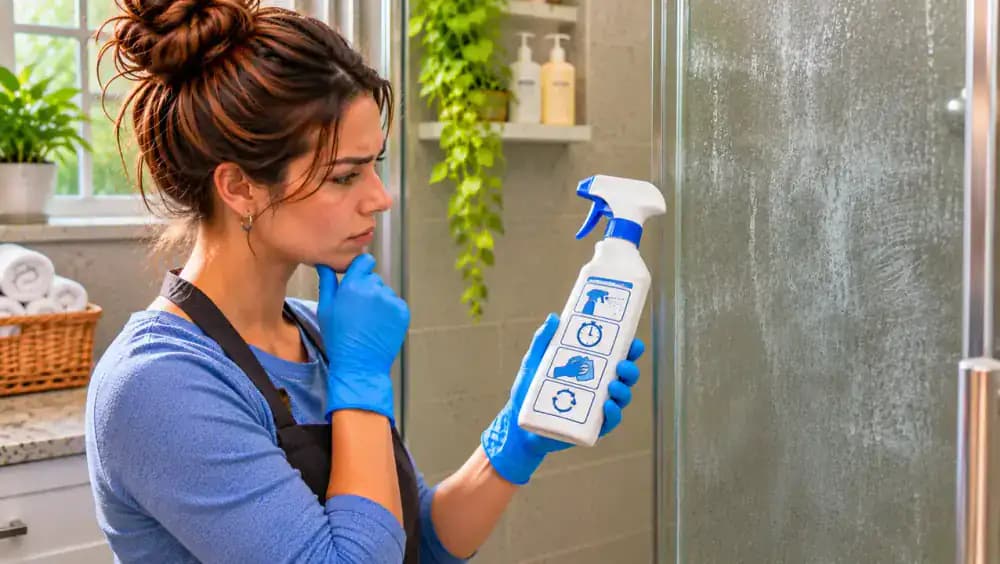
Select a Soap-Scum Remover Compatible With Your Shower Door
Choose a cleaner specifically labeled for removing soap scum from shower glass. Rotate the bottle and read the back label carefully, checking approved surfaces, protective coating compatibility, and restrictions for nearby metal finishes and rubber seals. Confirm whether the product requires wet or dry glass before application. Follow the manufacturer's directions for ventilation, protective equipment, contact time, and rinsing. Never combine cleaning products or assume all glass cleaners are interchangeable.
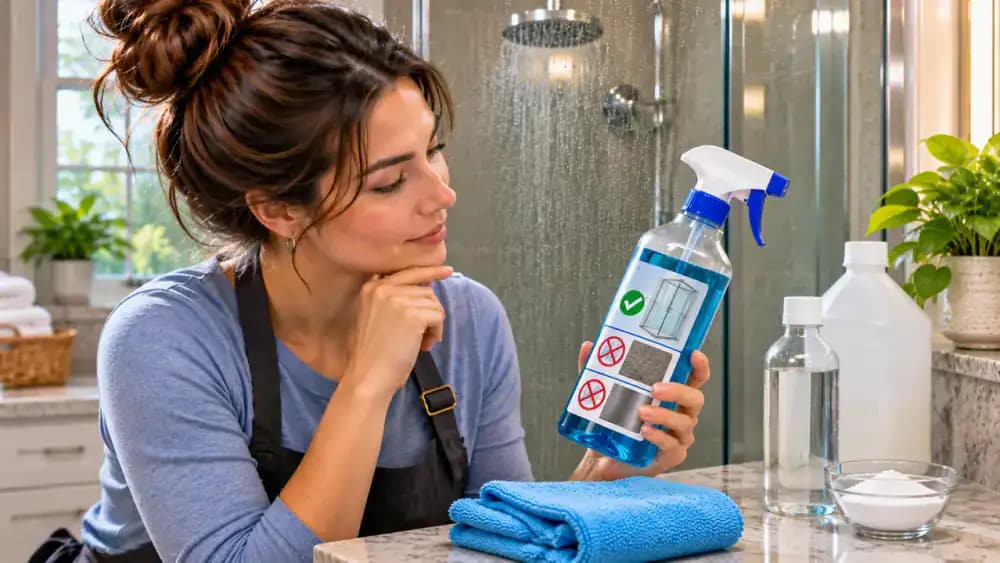
Test the Soap-Scum Remover on a Hidden Glass Section
Choose a small, inconspicuous area of shower glass away from metal trim and rubber seals. Prepare the surface exactly as the cleaner's label directs, then apply the recommended amount using the approved method. Wearing protective gloves if required, allow the specified contact time before rinsing thoroughly. Examine the test area from different angles for discoloration, unexpected clouding, or coating changes. Do not continue if any damage appears.
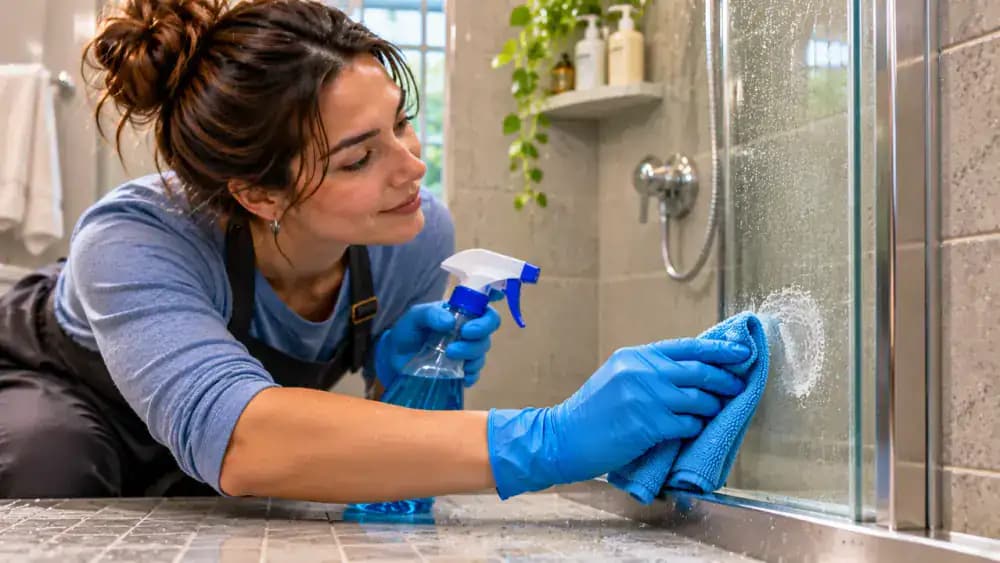
Apply Soap-Scum Remover Evenly Across the Cloudy Glass
After confirming no visible problems during the spot check, prepare the glass according to the cleaner's label. Hold the bottle at the recommended distance and apply a controlled, even spray across a manageable section, provided spraying is an approved method. Direct the cleaner toward the cloudy glass while avoiding hinges, handles, rubber seals, and metal trim. Use only the recommended amount to prevent unnecessary runoff and potential damage to surrounding finishes.
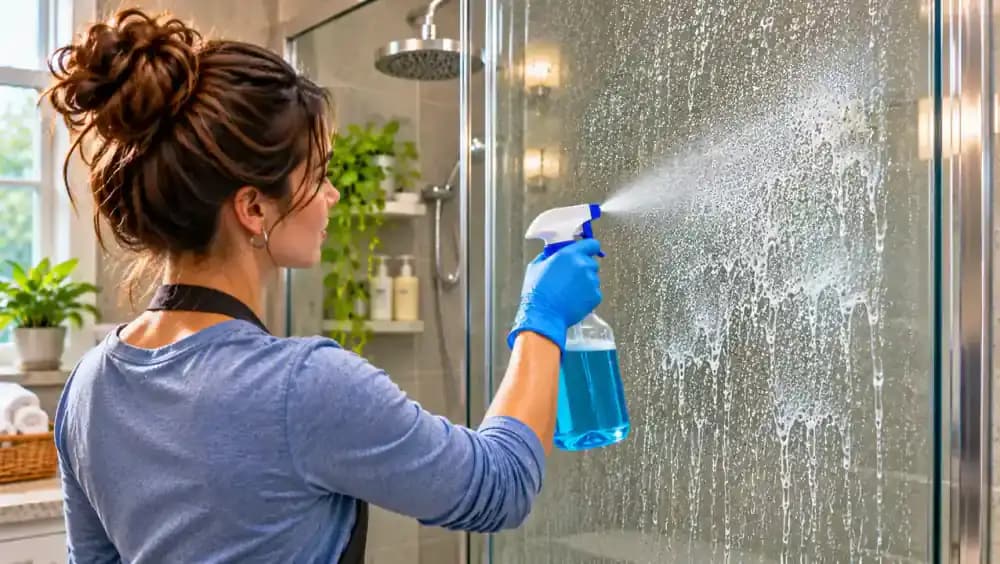
Set a Timer for the Cleaner's Required Contact Time
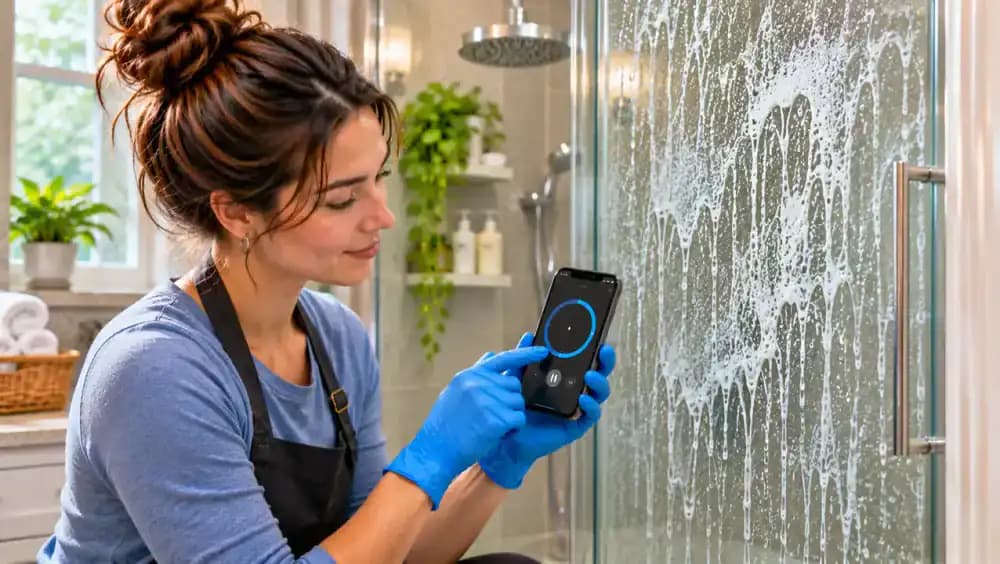
Set a timer for the exact contact time specified on your soap-scum remover's label, then leave the treated glass undisturbed. As shown, monitor the thin layer of cleaner while it works on the cloudy residue. Check whether the instructions require keeping the surface moist, and prevent drying if prohibited. Never extend the contact time to tackle stubborn buildup, especially on coated glass, because prolonged exposure may damage sensitive surfaces.
Check for Loosened Soap Scum Before Continuing
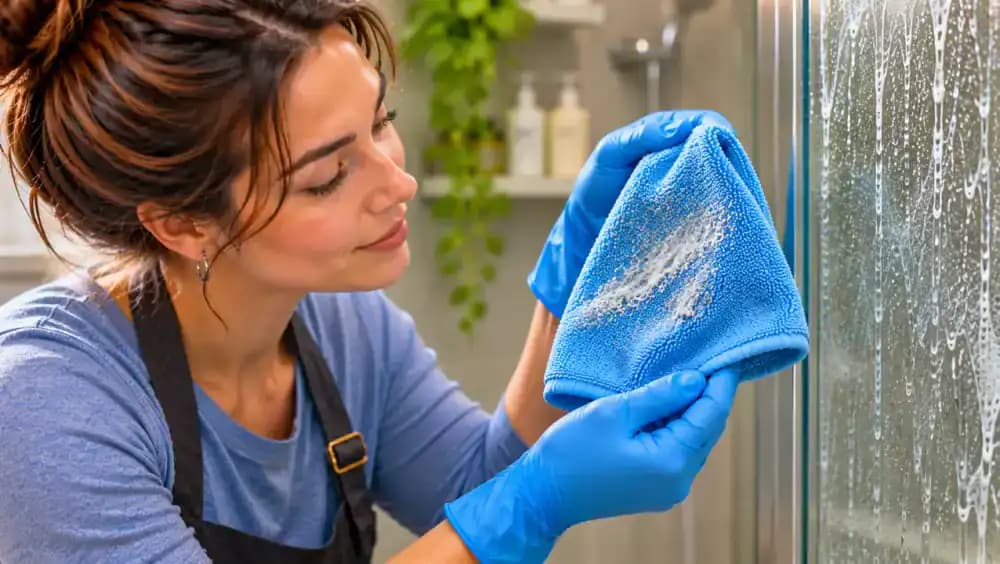
After the cleaner's specified contact time, gently move an approved microfiber cloth across a small treated section, provided the label permits wiping before rinsing. Lift the cloth and look for faint residue transferred onto its fibers, as shown. Some cloudiness may remain on the glass. Avoid increasing pressure or adding another cleaning product. Follow the label's rinsing directions before deciding whether a second approved application is necessary.
Remove Loosened Soap Scum With Overlapping Microfiber Strokes
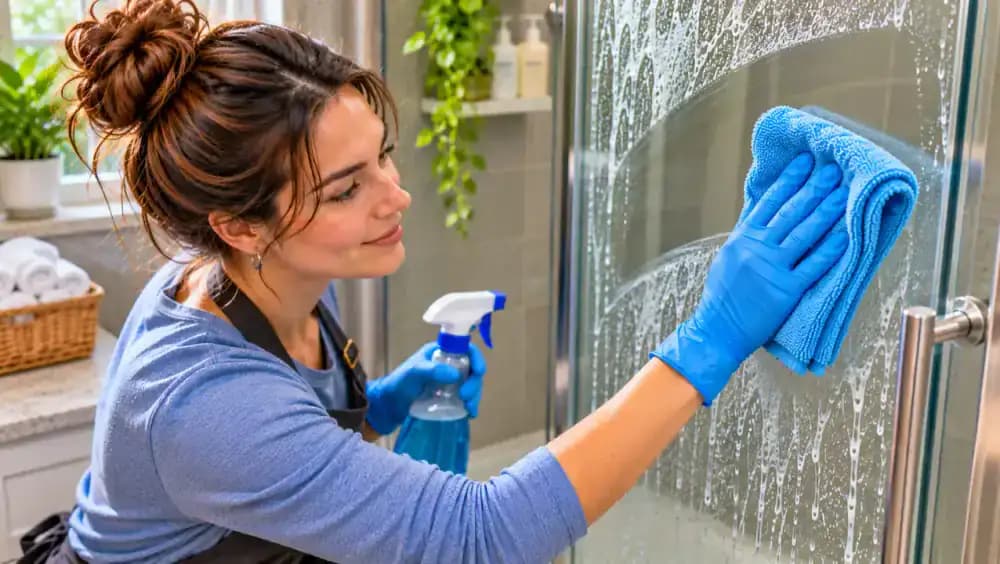
Fold a clean microfiber cloth into a square to create a flat wiping surface. Using light pressure, move the cloth downward across the treated shower glass in smooth, overlapping strokes, as shown. When the cloth collects visible grime, refold it to expose a fresh section before continuing. Some haze may remain after wiping. Always follow the cleaner's instructions, including rinsing first if required, and avoid abrasive tools or forceful scrubbing.
Gently Lift Stubborn Residue With an Approved Non-Scratch Sponge
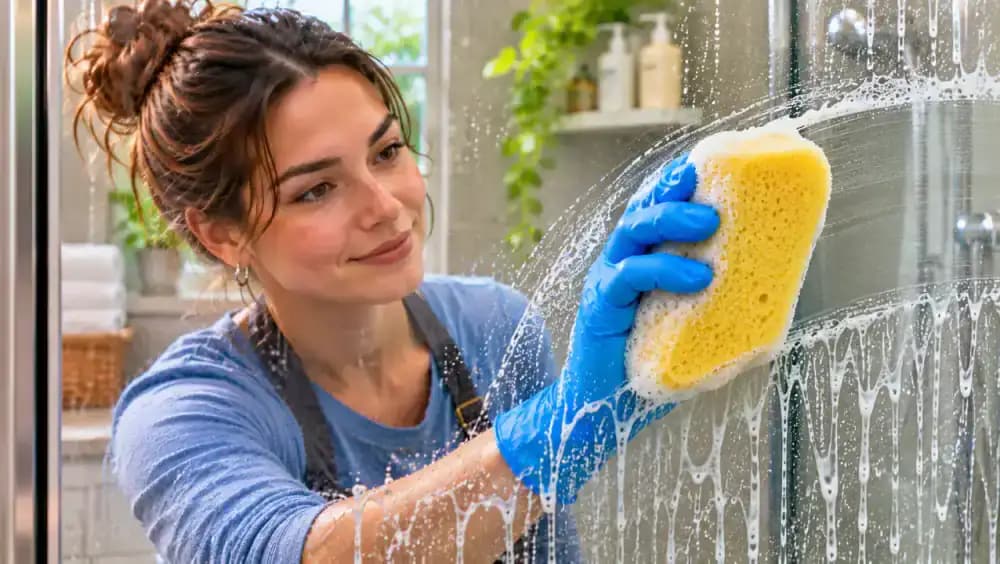
If softened soap scum remains after microfiber wiping, confirm that your shower door's coating and the cleaner's instructions permit a non-scratch sponge. Hold the approved sponge flat against the treated glass and move it in slow, gentle circles using minimal pressure, as shown. Rinse first if the cleaner requires it. Keep the sponge free of trapped grit, and stop if resistance increases rather than scrubbing harder.
Rinse the Shower Glass Thoroughly From Top to Bottom
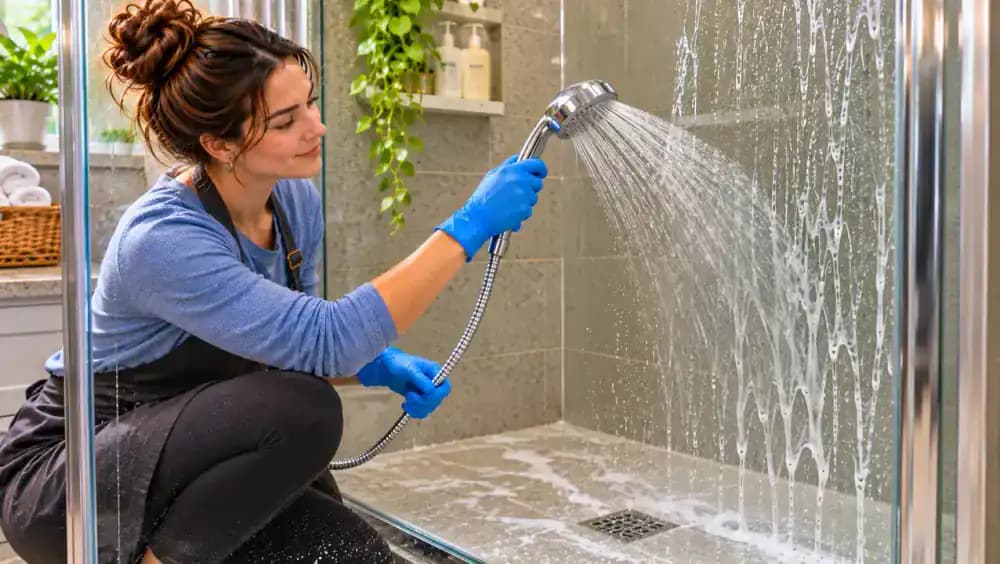
Use a handheld showerhead to direct a gentle stream of clean, lukewarm water across the treated glass, starting near the top and moving downward. Follow the cleaner's rinsing instructions and confirm the shower door manufacturer permits this method. Keep the water controlled around hinges, rubber seals, and sensitive finishes. Watch the runoff for remaining suds or loosened residue, paying special attention to the lower edge where cleaner can collect.
Dry the Glass From Top to Bottom With Fresh Microfiber
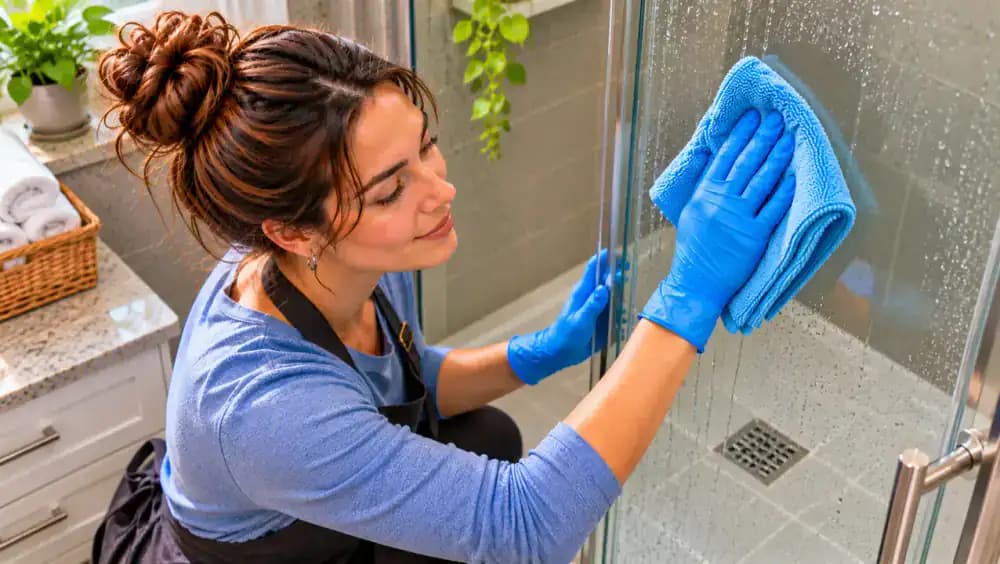
After thoroughly rinsing away the cleaner, take a separate, completely dry microfiber cloth and begin wiping near the top of the shower door. Move downward in gentle, overlapping strokes to absorb water droplets without applying excessive pressure. As shown, refold the cloth to expose a dry section whenever it becomes damp. Remove moisture along the lower glass edge, where droplets can collect, to help prevent new water spots and reveal remaining haze.
Examine Dry Shower Glass From Different Angles
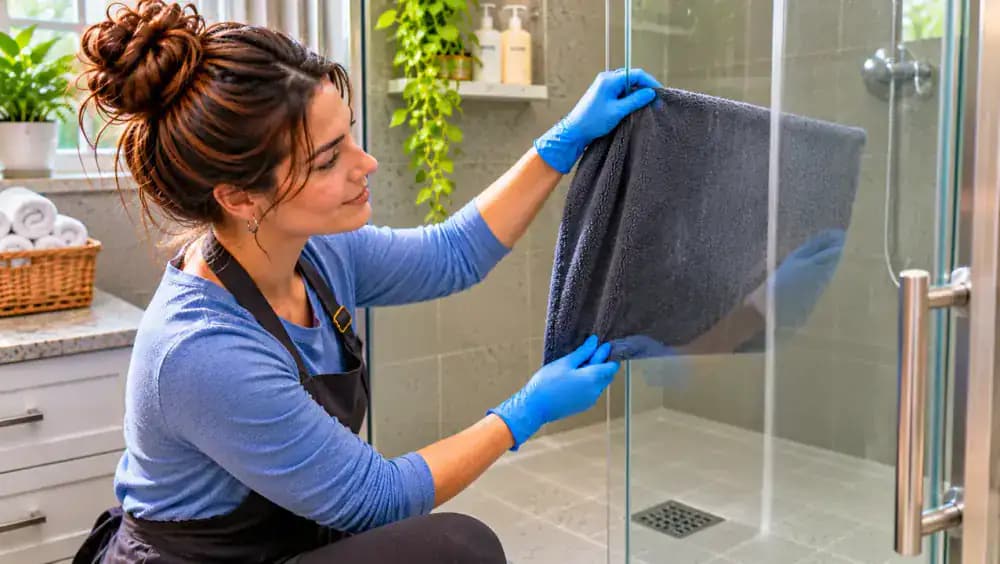
Stand beside the freshly dried shower door and examine the glass from several viewing angles. Use natural window light to reveal faint streaks or cloudy patches that may disappear when viewed straight on. As shown, hold a dark towel behind a small section to improve contrast without touching the surface. Inspect the center, lower corners, and edges carefully, noting where haze remains before deciding whether further cleaning is necessary.
Distinguish Remaining Mineral Spots From Possible Glass Damage
Examine the remaining marks on the completely dry shower glass under angled natural light. Hold a printed reference card beside the surface, as shown, and compare scattered chalky rings with diffuse cloudy patches or fine surface marks. Mineral deposits, soap residue, and possible coating damage can appear similar, so treat these patterns as clues rather than a diagnosis. Avoid scraping or repeating chemical treatments until you understand what may remain.
Check Whether a Second Soap-Scum Treatment Is Safe
Inspect the fully rinsed and dried shower glass for remaining soap-like film, then read the cleaner's label to see whether another application is permitted. Check that the protective coating shows no visible changes before proceeding. As shown, set the bottle aside while assessing the residue rather than immediately spraying again. If another treatment is allowed, repeat the labeled process with gentle tools. Stop if cloudiness persists or resembles mineral deposits or damage.
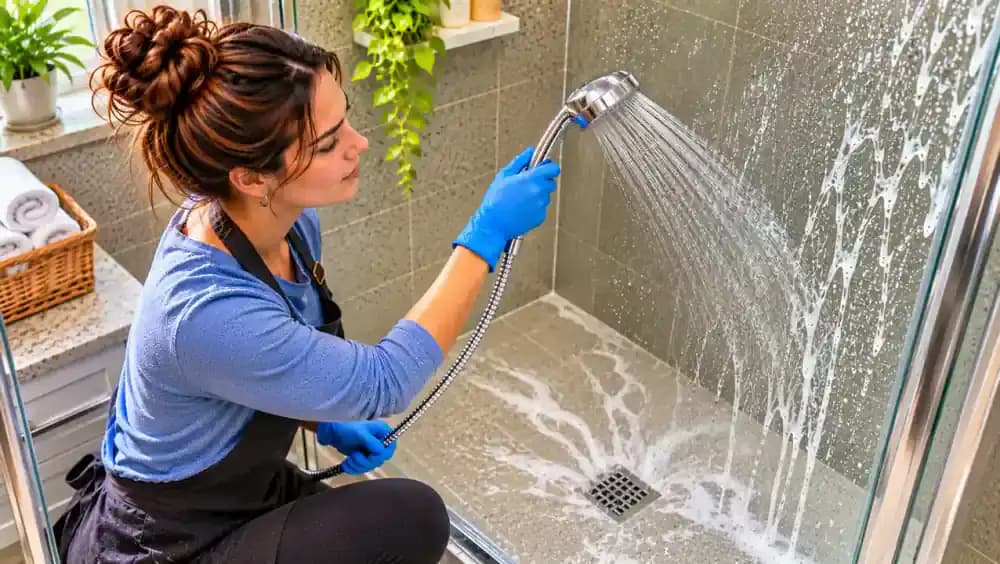
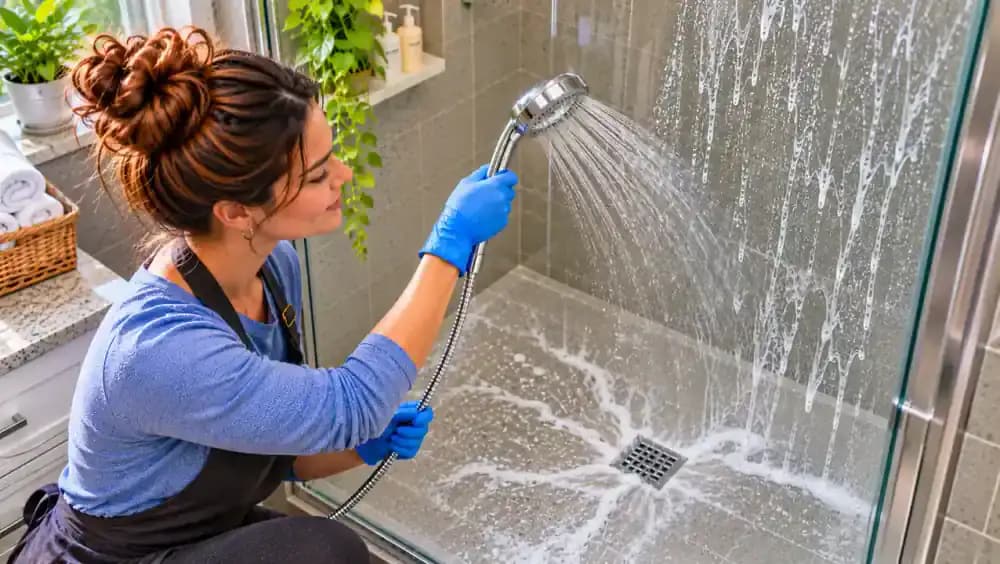
Rinse Fresh Soap Splashes Off the Glass After Each Shower
After each shower, use a handheld showerhead to gently rinse fresh soap splashes from the interior glass, provided the door manufacturer permits it. Start near the upper center and work downward, directing clean water toward the shower floor and drain. Avoid unnecessarily soaking hinges, rubber seals, and metal trim. Check that water flows away without pooling near the threshold. This quick habit helps prevent fresh soap residue from drying onto the glass.
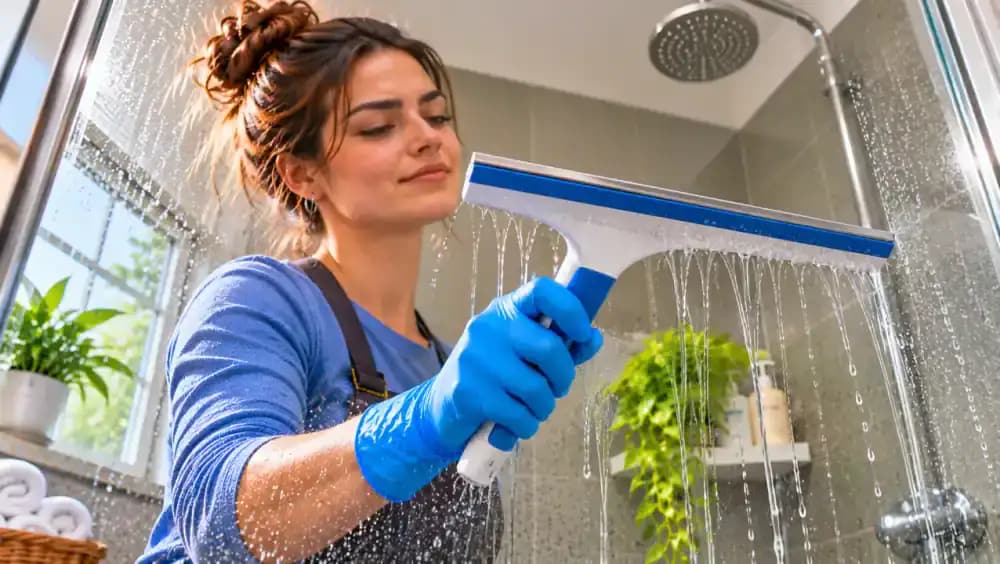
Remove Water Droplets With a Coating-Safe Shower Squeegee
After rinsing the shower glass, place a clean, manufacturer-approved squeegee near the top of the door. Pull its soft rubber blade downward in one smooth stroke using gentle, even pressure. Wipe the blade with a clean microfiber cloth between overlapping passes to avoid transferring residue. Finish by drying remaining droplets along the glass edges without pressing against seals or metal trim. Removing water promptly helps reduce mineral spots and recurring buildup.
Review Your Soap and Body Wash to Reduce Future Buildup
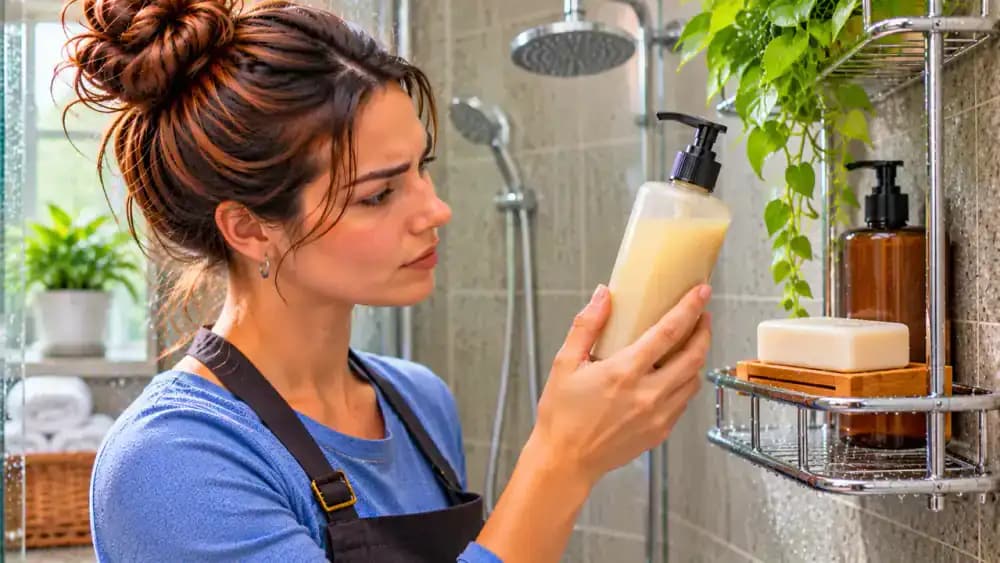
Examine the bathing products in your shower caddy, including bar soap and liquid body wash. As shown, read the body wash label and consider whether your current products leave noticeable film on nearby glass. Traditional bar soaps can react with hard-water minerals, contributing to stubborn deposits. Some liquid formulations may leave less residue, although results vary. If buildup returns quickly, consider trying a different formula while maintaining regular rinsing and drying.
Establish a Weekly Shower Glass Cleaning Routine
Set a weekly reminder to inspect your shower glass, focusing on the lower edges and areas frequently exposed to soap and water. Check for new cloudy patches, then gently wipe compatible surfaces with a clean microfiber cloth dampened with plain water. Follow with a separate dry cloth to remove remaining moisture. If stubborn buildup begins returning, use only a manufacturer-approved cleaner according to its label rather than allowing thick deposits to accumulate.
Gently Dry Shower Door Hinges, Handles, and Rubber Seals
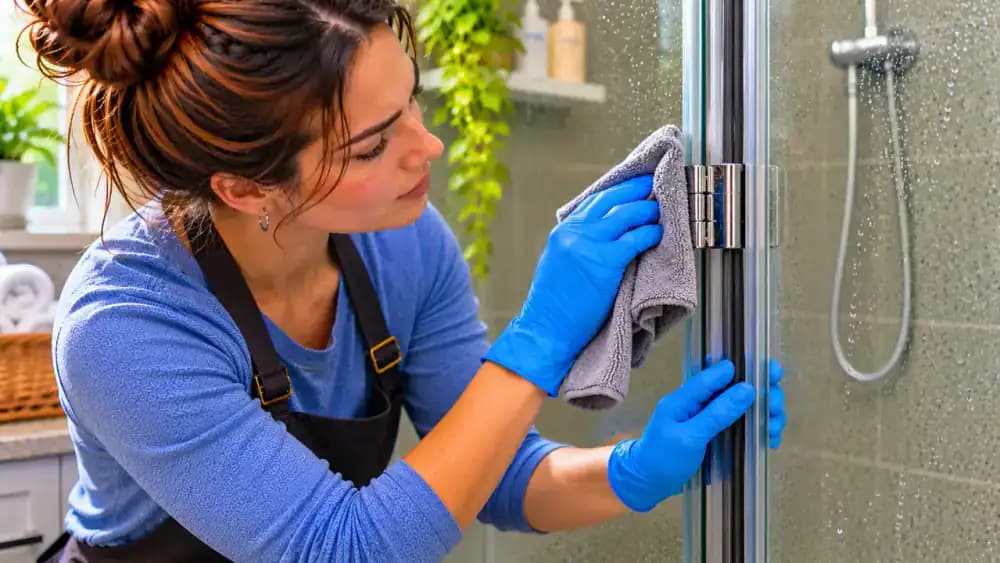
Inspect the shower door hinges, handle, and exposed rubber seals for trapped water droplets or visible residue. Using a clean, dry microfiber cloth, gently absorb moisture from accessible metal surfaces and along the gasket, as shown. Avoid pulling or stretching the seals, forcing water into hardware, or applying cleaners to incompatible finishes. Pay particular attention to the lower hinge and seal edges, where moisture can collect. Follow the manufacturer's maintenance instructions.
Follow the Five Essential Steps for Scratch-Free Shower Glass Cleaning
Use the five-part checklist to guide future cleaning: identify the residue, check manufacturer instructions, loosen compatible surfaces with warm water, apply an approved soap-scum remover, then gently wipe, rinse, and dry. Inspect the glass afterward for remaining haze before considering another treatment. Keep pressure light and protect nearby hardware throughout the process. Never mix cleaning products or use abrasive powders, steel wool, or razor blades on coated shower glass.
Maintain Clear Shower Glass With Gentle Daily Care
Once the glass is clean and dry, hang your microfiber cloth where it can air-dry, then gently close the shower door using its handle. Make rinsing and drying part of your regular routine whenever the manufacturer permits it. Choose compatible cleaners, avoid abrasive tools, and protect coatings, hinges, and seals. If stubborn cloudiness returns, identify the residue before treating it again. Consistent, gentle maintenance helps keep shower glass clearer over time.

If your glass shower doors look cloudy, greasy, or permanently dirty no matter how often you wipe them, soap scum may be the problem. This stubborn film builds up when soap residue mixes with minerals in water and clings to the glass. Ordinary glass cleaner often leaves it behind, and scrubbing harder can make matters worse, especially on doors with protective coatings. The good news is that you can often remove common soap scum without harsh abrasives, excessive scrubbing, or damage to your shower door.
The key is knowing what you're cleaning before choosing a product. Greasy soap scum and chalky hard-water deposits can look similar, but they may require different treatments. In this guide, you'll learn how to identify the buildup, soften stubborn residue with warm water, apply a compatible glass-safe cleaner, and rinse and dry the surface properly. You'll also learn which cleaning tools to avoid, how to protect seals and metal trim, and a simple after-shower routine that helps keep your glass clearer for longer.
Where people go wrong
Scrubbing Dry Glass With Abrasive Tools. Trying to scrape away stubborn soap scum with abrasive powders, steel wool, or razor blades can permanently scratch or damage coated shower glass. Instead, wet compatible glass with warm water to soften the residue, then gently wipe using a clean microfiber cloth or manufacturer-approved non-scratch sponge.
Treating Soap Scum and Hard-Water Stains the Same Way. Not every cloudy patch on shower glass is soap scum. Greasy soap residue and chalky mineral deposits may require different cleaning approaches. Examine the buildup closely and use a little water to help assess its texture before choosing a compatible cleaner. Avoid repeatedly scrubbing deposits that do not respond.
Using Cleaners Without Checking Compatibility. Applying a soap-scum remover without checking the manufacturer's instructions can damage protective glass coatings, rubber seals, or metal finishes. Always test the product in an inconspicuous area, follow its recommended contact time and ventilation requirements, and keep it away from incompatible materials. Never mix cleaning products.
Skipping the Rinse and Dry After Cleaning. Leaving cleaner residue or water droplets on shower glass can make the surface look cloudy again and contribute to recurring buildup. Rinse thoroughly after cleaning, dry with a fresh microfiber cloth, and inspect under angled lighting. Make a quick post-shower rinse and dry part of your regular routine.

Questions people ask
Cloudiness can come from greasy soap scum, chalky hard-water deposits, or permanent surface damage. Ordinary glass cleaner may not remove soap residue effectively. Inspect the glass under angled lighting and check the buildup with a little water. If a compatible soap-scum remover does not help, the remaining haze may need a different approach.
Fixed it?
Get one guide like this every Thursday.